Lorex Cloud is a dedicated mobile and web application designed to provide remote access and management for Lorex security camera systems. It allows users to view live footage from their cameras, review recorded clips stored in the cloud or on local network video recorders (NVRs), and receive instant alerts for detected motion or other events, all from their smartphone, tablet, or computer, ensuring their property is monitored from anywhere with an internet connection.
Key Features
The application stands out by integrating seamlessly with Lorex's ecosystem of hardware. Its primary features focus on delivering a centralized and intelligent monitoring experience. Users can expect a robust set of tools designed for both real-time observation and forensic review. The platform is built to handle multiple camera feeds efficiently, providing a comprehensive overview of a property.
- Real-time live streaming in high definition from multiple cameras on a single screen.
- Intelligent motion detection alerts with customizable activity zones to reduce false notifications.
- Secure cloud video recording subscriptions for footage backup accessible from anywhere.
- Two-way audio communication to listen in and speak through supported camera speakers.
- Support for local NVR/DVR systems, allowing remote access to recorded footage on the home network.
- User management with customizable permissions for shared access with family or staff.
Pros & Cons
Evaluating Lorex Cloud involves considering its tight integration with proprietary hardware against its limitations in an open ecosystem. The application excels in providing a stable portal for users invested in the Lorex brand but may present constraints for those seeking more universal compatibility or advanced features without additional cost.
- Pros: The interface is generally intuitive and user-friendly, especially for basic monitoring tasks. Reliability and connection stability to Lorex equipment are typically strong. The availability of both cloud and local NVR access provides flexible storage options. Timely push notifications for motion events keep users promptly informed.
- Cons: The app's functionality is largely limited to Lorex-branded devices, with no support for third-party cameras. Some advanced features, like extended cloud history or person/vehicle detection, often require paid subscriptions. Occasional app updates may temporarily introduce bugs or changes to the user interface that require re-acclimation.
Functions
The core functions of Lorex Cloud translate its features into actionable daily use. It acts as the primary remote control panel for the entire security system. Beyond simple viewing, it facilitates interaction with the recorded timeline and system settings, making it a powerful management tool rather than just a video player.
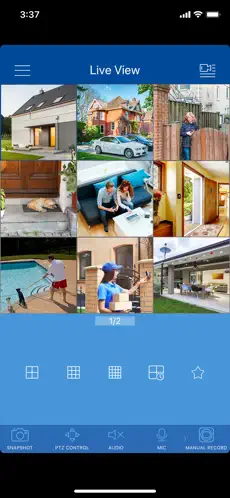
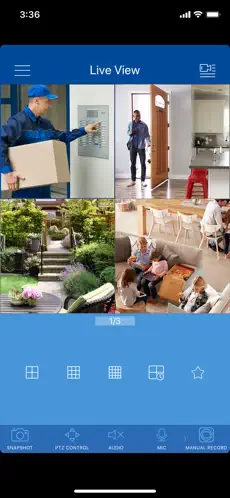
- Accessing and organizing a multi-camera live view dashboard for at-a-glance monitoring.
- Searching and playing back recorded video from specific dates and times by scrolling through a timeline.
- Configuring motion detection sensitivity and drawing specific zones for alert triggers within the camera's field of view.
- Managing cloud recording subscriptions, including viewing stored clips, downloading videos, and adjusting storage settings.
- Setting up and managing user accounts with varying access levels, such as "viewer" or "admin" roles.
How to Use
Click the button "Check All Versions" below to download and install it. Begin by ensuring your Lorex camera system is properly set up and connected to your local network. Once the app is installed on your mobile device, launch it and create a Lorex Cloud account or log in with your existing credentials. The setup process typically involves using the in-app scanner to scan the QR code on your NVR or camera, which automatically adds your device to the account.
- Follow the on-screen prompts to name your cameras, assign them to specific rooms or areas, and set your preferred notification preferences.
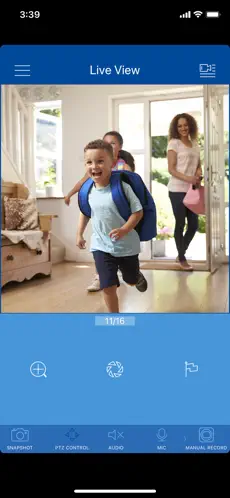
- Navigate the main screen to see all camera feeds; tap on any single feed to enlarge it and access controls for two-way talk, snapshot, and record functions.
- Use the timeline view at the bottom of the live screen or access the dedicated playback section to scrub through recorded video from your NVR or cloud storage.
- Regularly check the app's settings menu to adjust alert schedules, configure activity zones, update user permissions, and install the latest firmware updates for your connected devices.


 2.00
2.00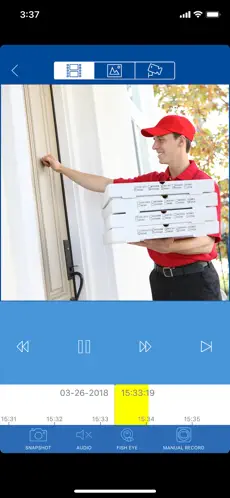
 Download